I increasingly use diagrams, drawings and infographics when I interview someone. Since corona, I often interview digitally. At first I found this very inconvenient and impersonal, but I also discovered the benefits. Precisely because it is digital you can very easily draw together and organize information schematically.
In this blog some examples of how I approach visual interviewing and some tips for getting started yourself. I think it would be fun to organize a workshop or meet-up about this sometime, so I’d love to hear if there’s enthusiasm for that.
Drawing together
“I can’t draw at all” is the first sentence that rolls out of many people when I introduce this method. That changes when we get down to business and the interviewee loosens up and finds it easier and easier to tell and participate. And at the end, “now it’s much clearer for myself, too.”
I call it visual interviewing, drawing together, schematic conversation, picture talking… Think of a nice name. It means that as we talk, we directly visualize how things fit together. This can be done, for example, by making a mind map together, a timeline or some other useful arrangement. During the conversation, you put all the information directly in the right place, which helps both of you get to the point and immediately see if the story is complete.
And yes, you may also just use text while drawing.
A few examples
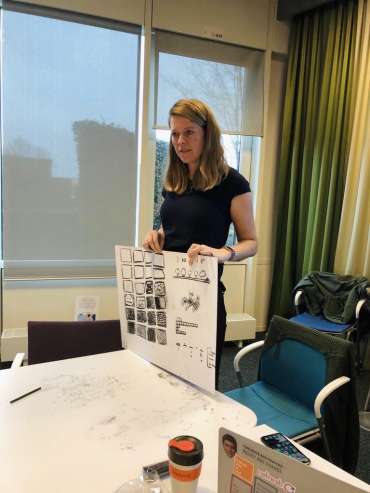
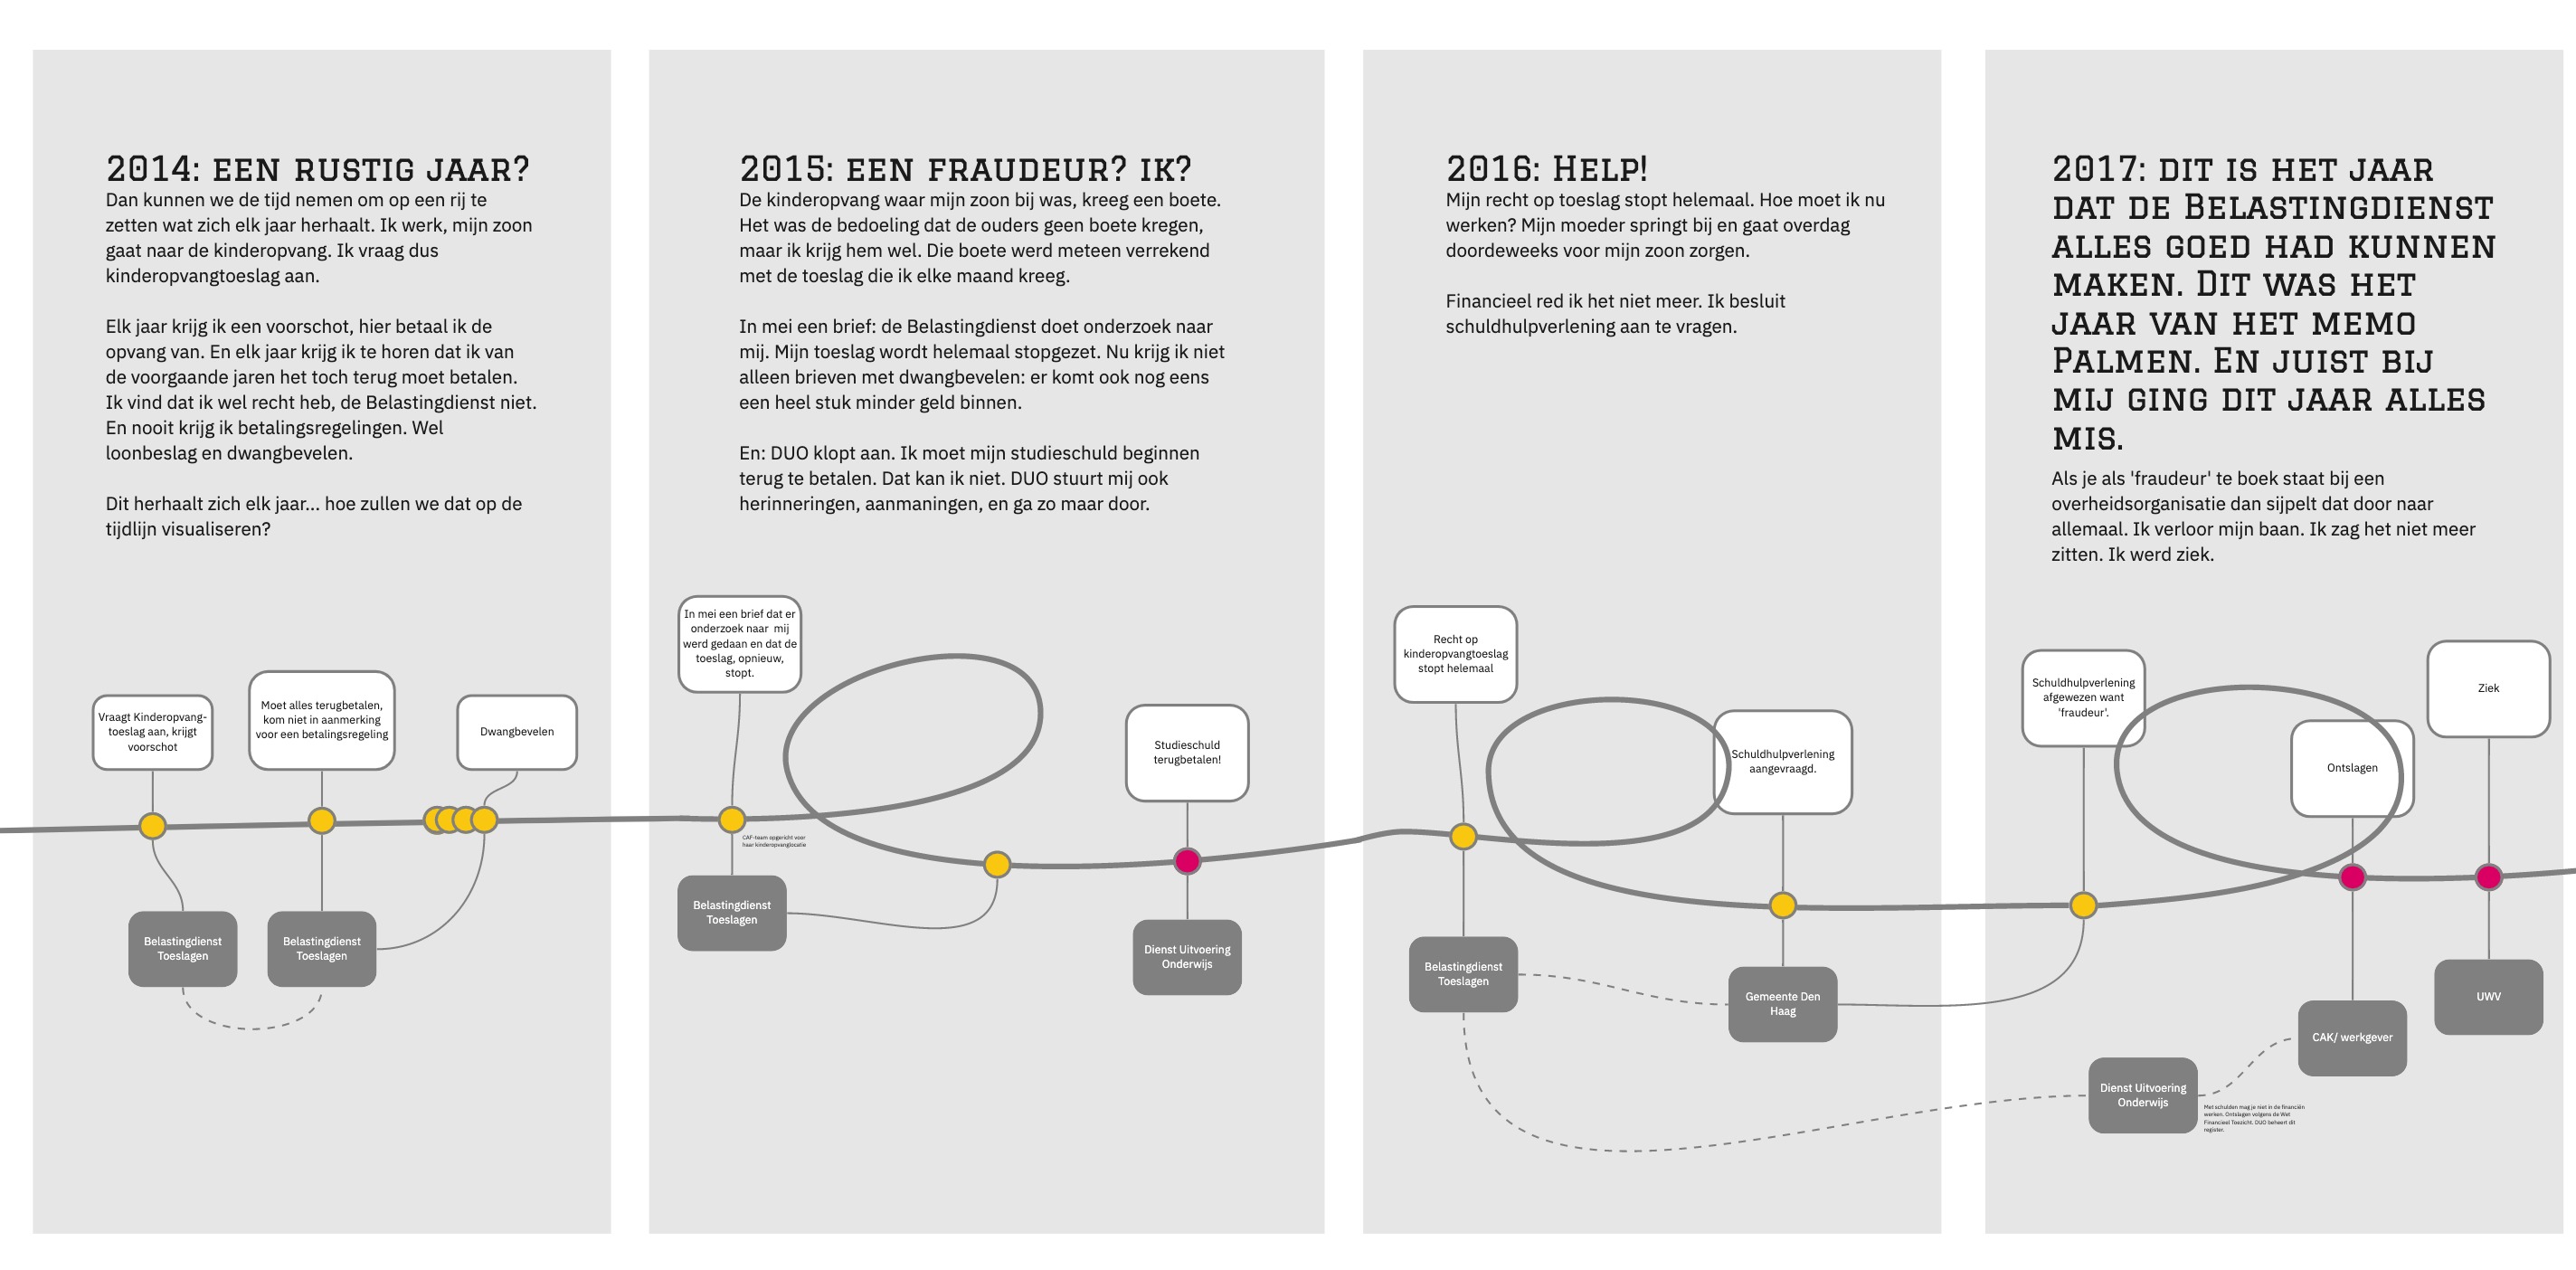
Janet Ramesar and I created a timeline together. That one went back ten years to the present. On the timeline, we posted her experiences with child care subsidies. You could see it getting more and more complicated over time. By lining it up like that, you saw cause and effect very clearly. It gave us a foothold to broadly capture the story in a short period of time. We created the entire timeline in a 1-hour zoom session. Janet told, I shared my screen and posted what she told directly on the timeline. If I misplaced it, she corrected me: ‘no, that should be first. That one should be more to the right’. It gave us both something to hold on to.
I later used the timeline format myself when I charted a month out of my relationship with the government. And I applied it in a project for Werk aan Uitvoering where, together with Maureen Hermeling, I interviewed someone from Loket Geldzaken of the Municipality of The Hague (on my blog I called him Puzzler Patrick). The three of us thus mapped out complex case histories involving debt.

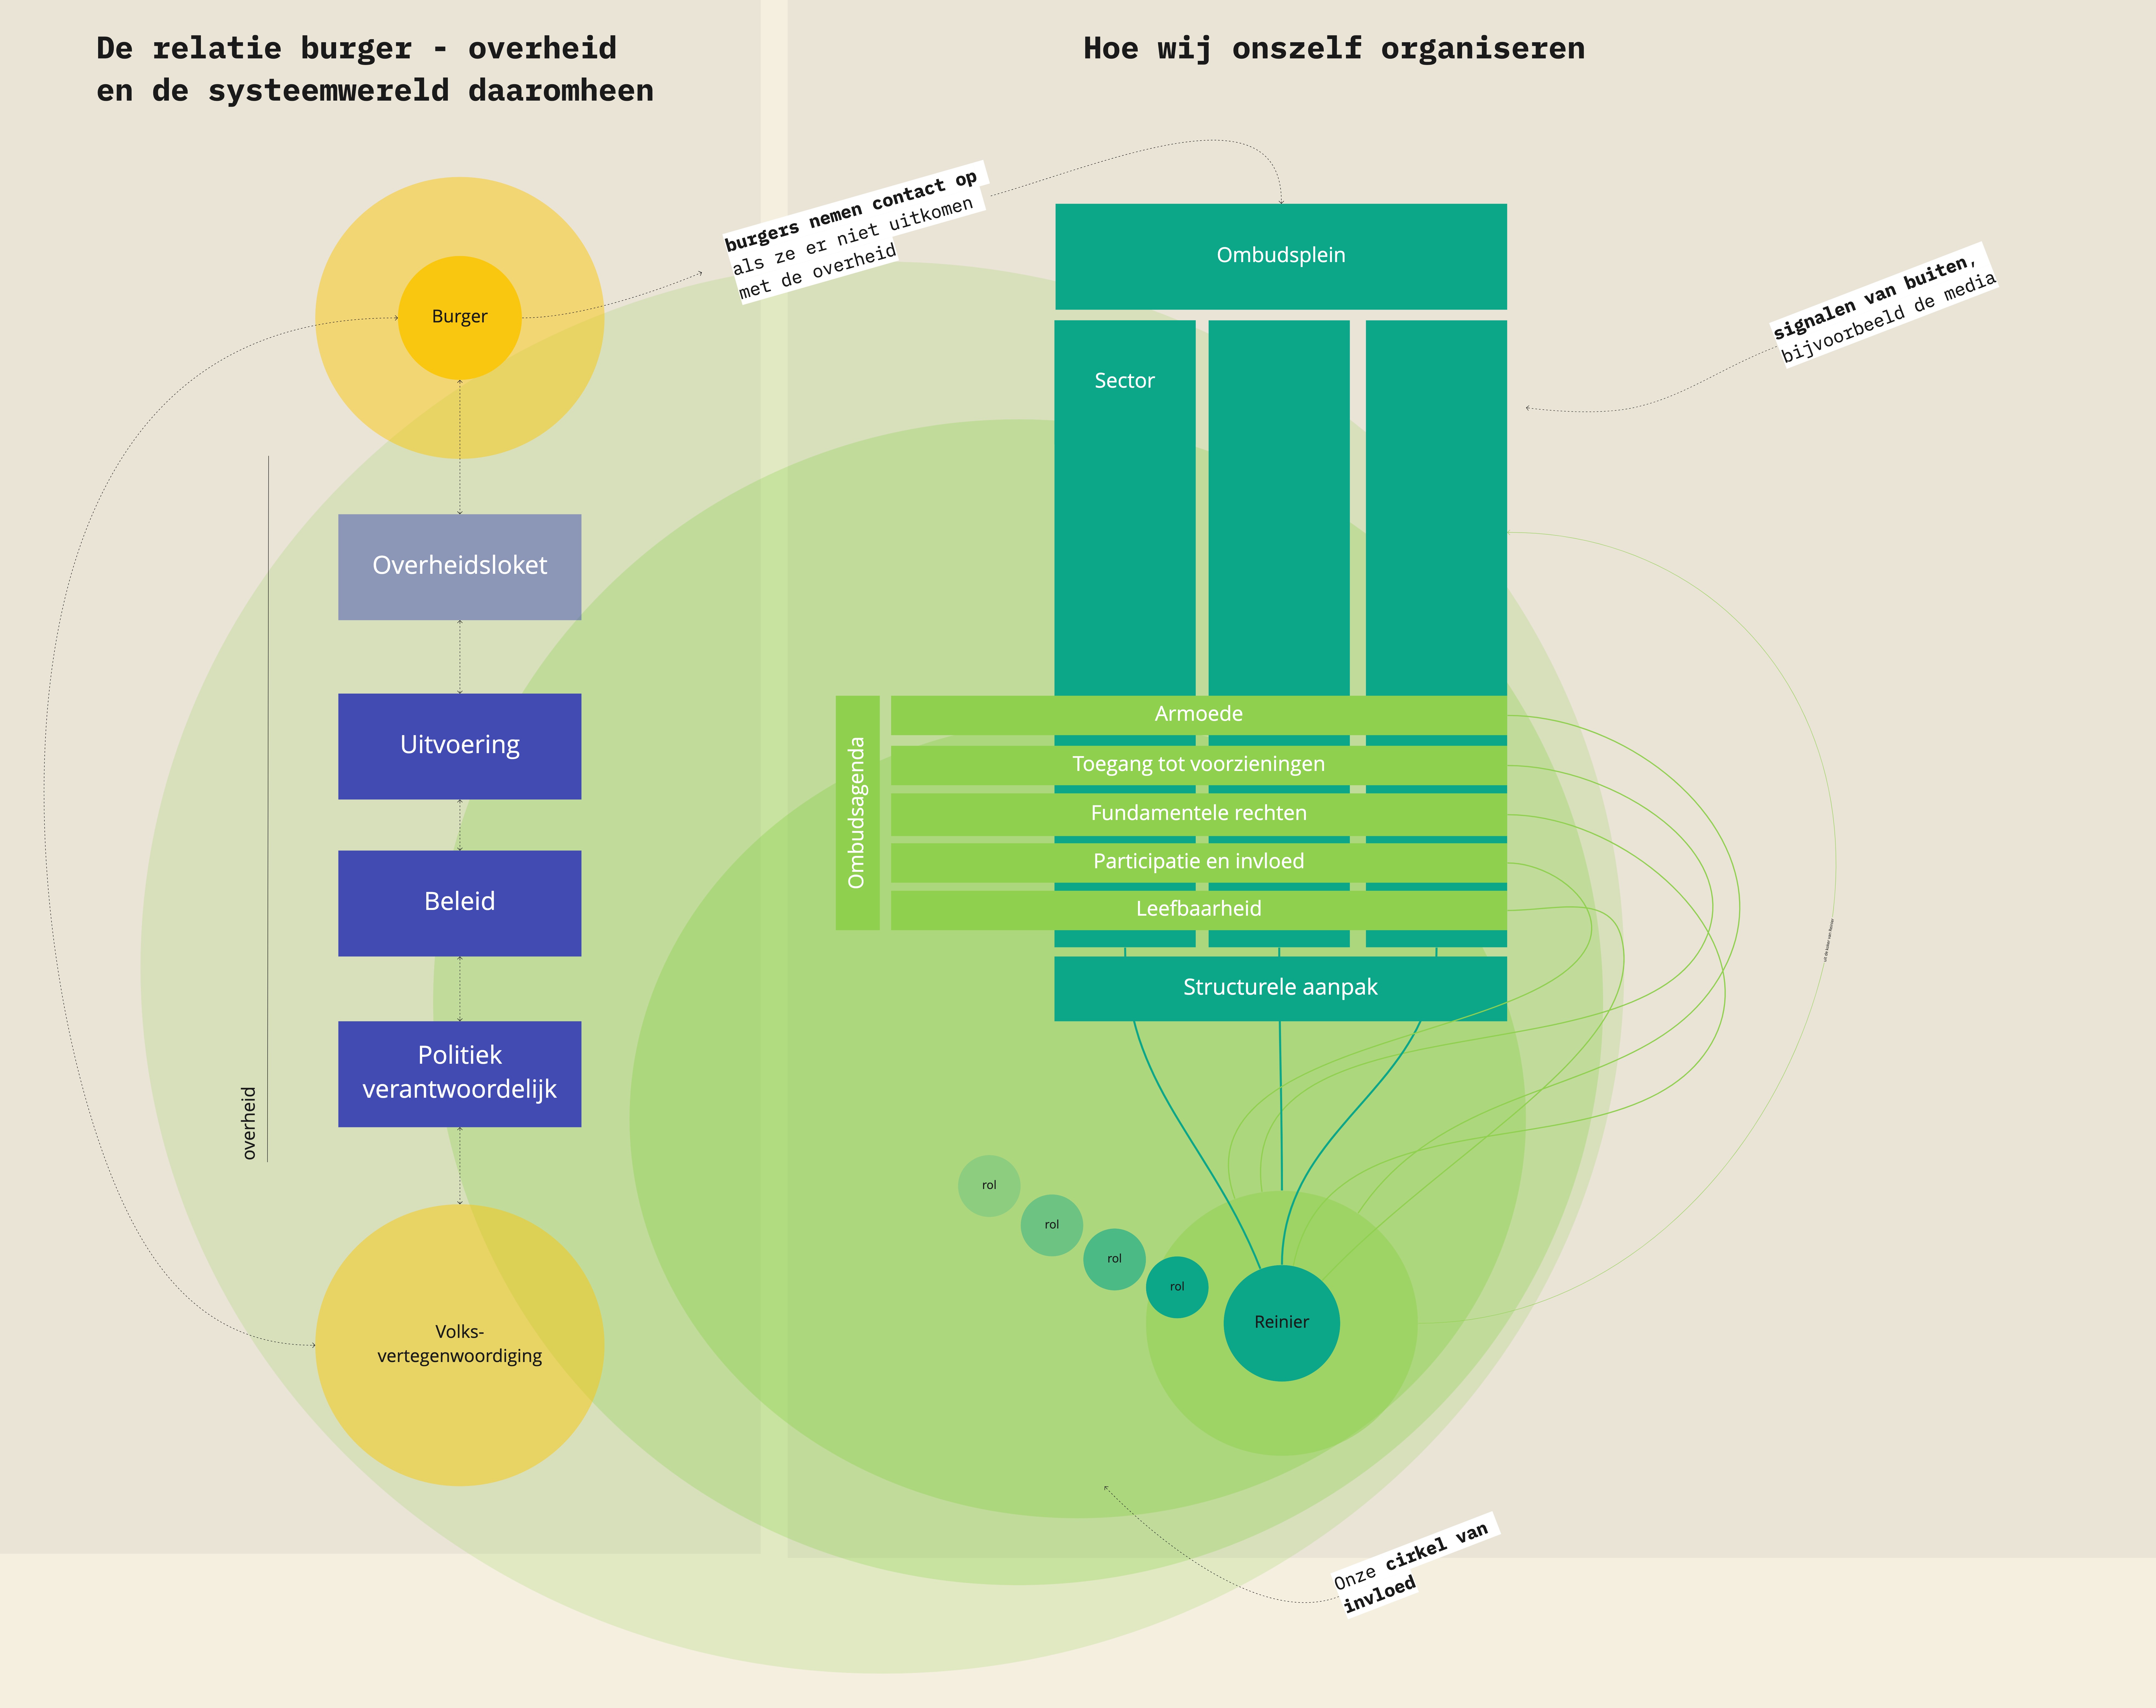
At the Ombudsman, during a series of interviews with colleagues, I used not a timeline but a drawing of the organization. The key question was “how should we organize our own activities to have a greater impact on the government?” In each interview, we drew together a new picture of our ideal organization. While making that drawing, I kept asking why-questions. What I learned from those conversations I described in the blog about a professional listening standard. This is the basic drawing I used as a start for the conversations (i.e., before everyone started shuffling around with it and making a new drawing):
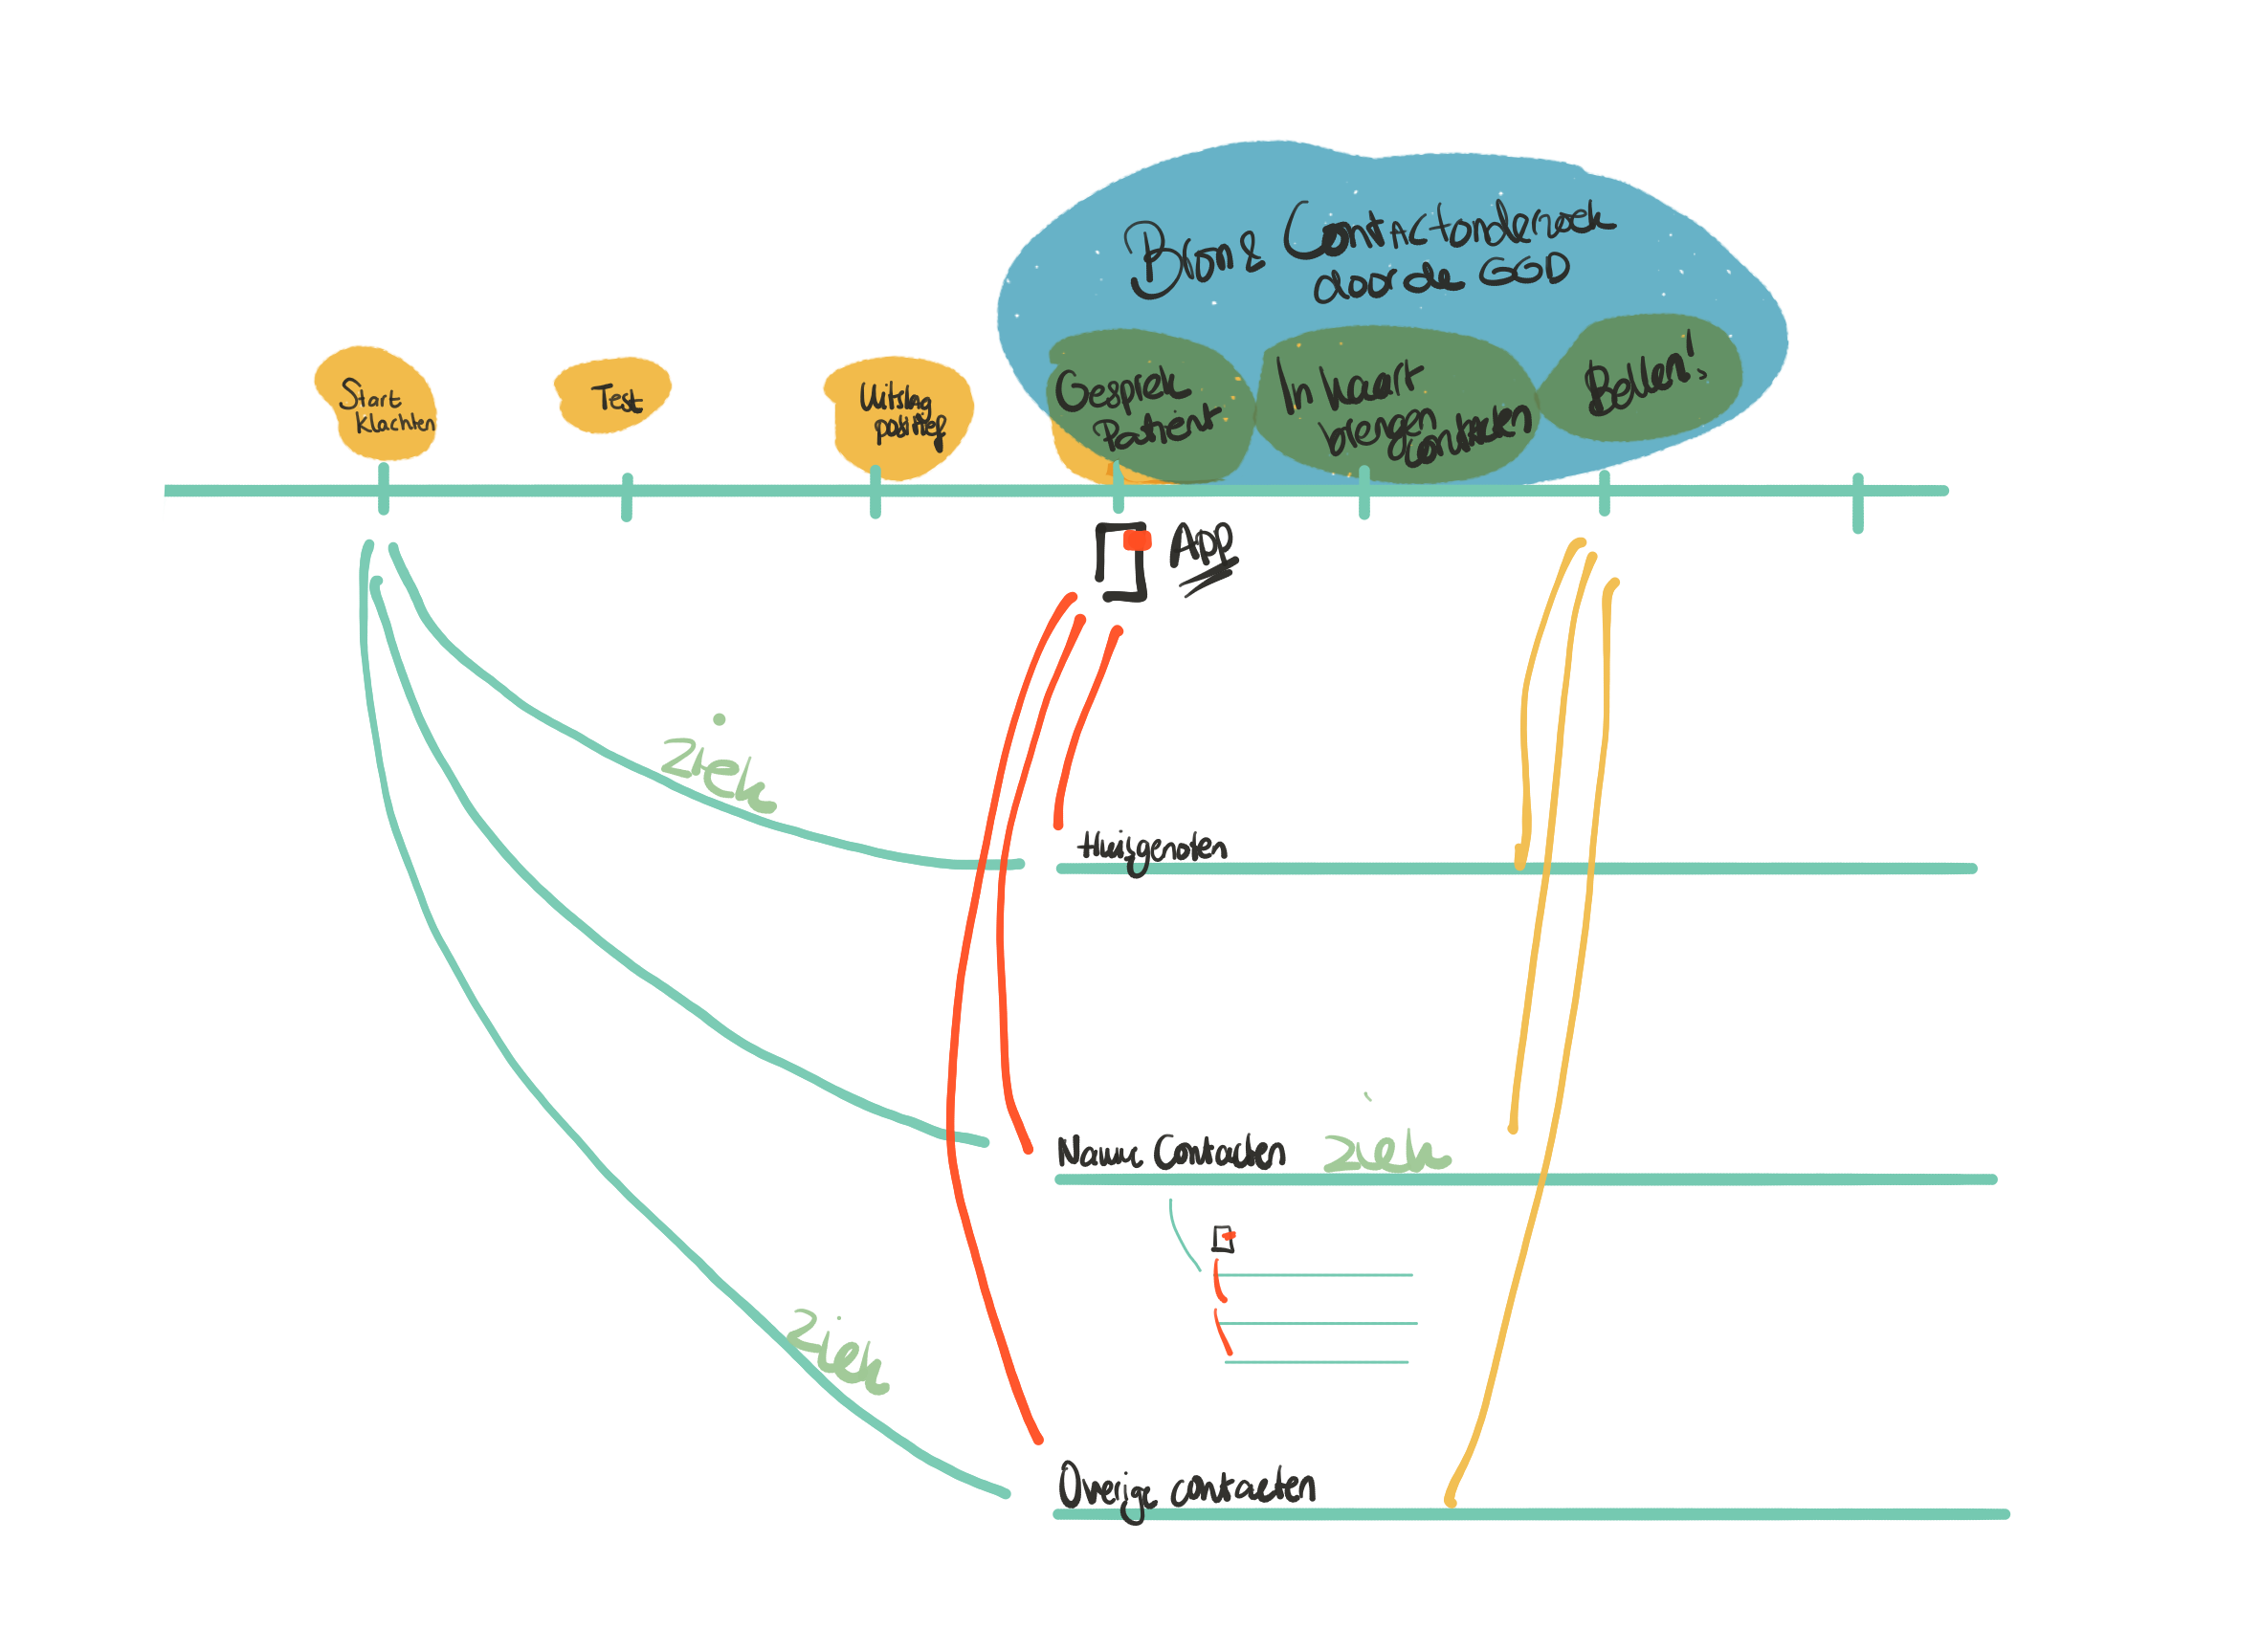
At the beginning of the corona crisis, I got to work for a while with the team that made the corona apps at the Ministry of Health. From Jasper, my husband I had just received an Ipad at that time. I took it along on my visits to the local health organizations (GGD) and outlined with the staff the source and contact tracing and the bottlenecks they experienced. For example, we made these kinds of sketches:
Last example, also with the Ombudsman. In a short brainstorm about signals and complaints as input for research topics, we drew them so you could immediately see the extent of the signals and the overlap with the rest of the topics. This was a first sketch that we could develop later.
Why it works
Drawing together just works nicely. Even in on-site conversations, it’s easy to grab a flipchart: “Shall I draw it out?” and the confusion of speech disappears like snow in the sun.
Digitally, it can be done just as easily. You share your screen, you draw how you envision it, and the other person can immediately respond, “no, you have it all wrong, it should be just like this.”
Creating together means organizing and structuring the story together. It is immediately tangible. You can see it before you. You catch the words in focus before they slip away.
The input is the output. You have the basis for the result and documentation ready immediately after the interview. After talking with Janet, I only needed an extra hour or so myself to make everything neat and write out the keywords. After a check from her, it was finished.
Talking digitally is much less impersonal this way. You are working together. You don’t necessarily have to see each other at all, because you share your story equally and are creative together. That activates even though you are both sitting behind a remote screen. And as an added bonus, you won’t have to type out another stack of post-its or flip charts after the event.
This is what you need
- a digital drawing tool. I use Miro, but you can also, for example, connect your Ipad to your laptop, draw along and share your screen. Or use another digital tool, there are plenty of them.
- a basic architecture. Think about how you will set it up in advance. Are you creating a timeline? A schematic of the organization? A mind map of questions and answers? Or something else? In Miro, you have handy ready-made templates that you can use.
- Skills to sketch visualization. It doesn’t have to be perfect right away. Thinking out loud “hmm how shall I portray this” is fine. The other person then also helps, and you give the other person a chance to make together. In a master class taught by Stefanie Posavec (known for Dear Data), I learned the basic techniques for working visually. I wrote this blog about it and later gave this workshop about it at DUO.
- program to video call and share your screen
For advanced visual interviewers:
- also give the other person editing rights in your program. Then take time for a brief intro and explain how the drawing program works. I set aside at least 10 minutes for this and do some practice together. Sometimes it is difficult and it might work easier if I draw and ask questions myself. The other person then thinks with me and gives me drawing instructions. That’s why I call it visual interviewing, because you help the other person tell their story in pictures or diagrams.
Getting Started
Enthusiastic to also draw together with your colleagues or the person you are interviewing? I hope this is of some use to you. It is fun to see how you tackle it, so please share your results with me (and others!) too.